It is possible that when switched on, your ceiling fan works well, but when you try to turn on the light on the fan, it does not come on. You know there is an issue, not with the ceiling fan but with the light fixture.
Somehow you get a new bulb replacement, get it fixed, and turn on the light switch. Still, nothing. Except for the rotating fan. Now, you know the issue is not with the bulb either.
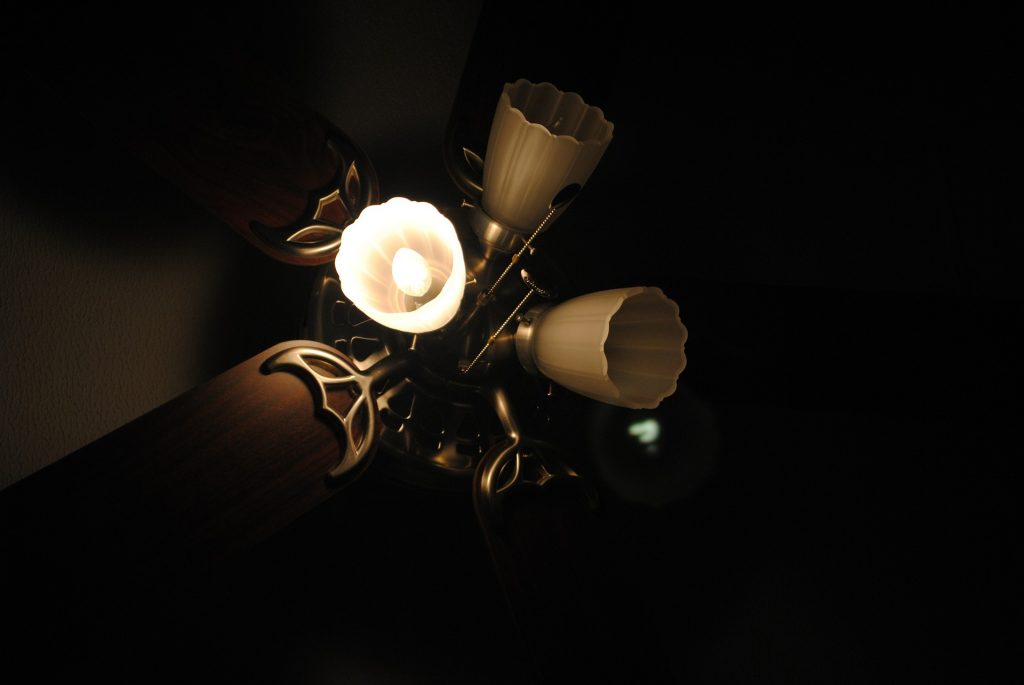
There is something that holds the bulb in place and somehow connects it to electricity. It is called a light socket, lamp holder, or light bulb holder. The issue with your lighting is certainly from here.
In this article, we will lead you through the process of fixing a ceiling fan light socket. Even if you do not have any experience with fixing stuff around the house, with the well-detailed steps here and extra tips, you will do just fine. Let us get right into it.
What Is Needed to Replace a Ceiling Fan?
Adequate preparations need to be made before you start with your project so that you do not become stranded midway. The basic things you need include the following:
i. A New Light Socket
This might be your first shot at a DIY project. However, do not get so carried away with the excitement that you do not make arrangements to get a new light socket. The new light socket must match the one you want to change in amperage, voltage, and wattage ratings and fit.
ii. A Ladder
Since a ceiling fan is involved, you will certainly need some help with elevation. Getting a step-ladder or a high stool will serve this purpose. Plus, you could place sturdy boxes such that they serve as a ladder.
Whatever you do, make sure you are comfortable on the object and will not fall off if it gives under your weight. Please do not place yourself at risk.
iii. A Non-Contact Voltage Tester
A non-contact voltage tester is very essential to keep you safe and away from live wires. We do not want you to get the shock of your life during this project.
iv. A Screwdriver
A drill can serve in a place of a screwdriver. Whatever you choose, be sure to drive those screws in after you must have gotten them out to do your work.
v. A Wire Cutter
A wire cutter will come in handy when you need to disconnect wires that have some form of permanent attachment to the light socket.
vi. A Wire Stripper
A wire stripper is needed to take off the rubber ends on wires so you can twist them to create an electrical connection.
 Stranded")
Click here to check this out and buy on Amazon.
vii. A Helper
If this is your first time or you are not so familiar with moving heavy things across heights, you need a helper or supporter. This person will lend you an extra pair of hands, especially when you need to work two ends simultaneously.
How Do You Get The Job Done?
With our tools ready, let us proceed using the steps below as a guide.
1. Turn The Power Off At The Circuit Panel
The first thing to do is to turn off power at the circuit panel powering the room where the ceiling fan is. It is not enough to just turn off the wall switch or even the remote-control switch.
If you are unsure of which to turn off, simply turn off power to the whole house. That way you will be certain that power is not flowing through any wires you come in contact with.
To confirm this, you can flip the light switch to ensure that it does not turn on. You can also use the non-contact voltage tester on any wires you see to ensure that they are not live.

Click here to check this out and buy on Amazon.
2. Uninstall The Ceiling Fan
This step depends on how the fan is put together. You might not find it easy to take the lighting unit off the fan, so, taking down the entire fan may be your best option for getting the old light socket out. At this point, you will need your helper and a screwdriver.
With the power off, use the screwdriver to detach the fan from its support, get the wiring from the fixture off, and unscrew the wire nuts. By now, your friend should be ready to give you some support as you place the ceiling fan on the floor.
It will be beneficial to take note of how the wires are connected to the fan so that when you are placing the ceiling fan back up, you will have no difficulty. Using your phone to take a picture of the arrangement will be a very good idea.
3. Remove Ceiling Fan Light Cover
The ceiling fan light cover must first be removed to gain access to the interior of the fixture. Depending on the light cover used, you might just need to push and turn to get the cover off.
Some others will require that you pull back on an adjustable clip and pull the cover away from the remaining clips.
For some others, you might need to use a screwdriver to unfasten the connection or simply use your hands to get off the thumbscrews.
4. Examine The Light Fixture
With the light cover off, remove the ceiling fan light bulb to expose the offending socket for examination. Sometimes, you can find a dark discoloration on the pins at the bottom of the socket signifying that it burned out.
Look inside and around the light socket to see where it is secured with screws. Using your screwdriver, remove the screws. Pull the socket away from the fixture so that the wires and screw terminals securing the wires to the socket are exposed.
5. Remove The Ceiling Fan Light Socket
Next, remove the light socket by disconnecting the wires from the terminals. If the wires are permanently attached to the socket, probably by soldering, you will need to cut them off. This will make it possible for you to install a new socket with screw terminals.

Click here to check this out and buy on Amazon.
6. Install A New Light Socket
Install the new light socket by using the mounting screws after connecting the fixture’s wires to the new socket’s terminals.
7. Fix A Light Bulb On The Light Socket
Screw in the bulb in the same way you took it before. You can decide to use a new bulb just so you do not have to go through the trouble of bulb replacement any time soon.
However, make sure that the new light bulb matches the old one perfectly, except you want to get a bulb in a different color.
At this point, you need to return the fan to the ceiling. That is if you had to take it down to get access to the light socket.
8. Return The Fan To The Ceiling
Here is where your helper needs to come in. Remember that photo of the wire connections you took earlier? Now is when you need it. You will also need wire nuts.
You will have to secure the fan so that you can reconnect the wires. Connect the fan motor’s wires to the ones coming through the ceiling bracket. Secure the wires with wire nuts or wire caps.

Click here to check this out and buy on Amazon.
Using a wrench, make sure that the wire nuts are tight enough to prevent any wires from slipping out when you tuck them into the ceiling or due to the motion of the ceiling fan when it is turned on.
Right after tucking the wires into the ceiling, secure the fan canopy to the ceiling bracket by pushing it against the bracket.
The fan base may pop into place immediately you push it against the bracket. If it does not, then you need to screw it into place ensuring the screws fit very close to the ceiling.
9. Test The Setup
Restore power to the circuit powering the ceiling fan to test the fixture having replaced the light socket and bulb. This will also confirm that the ceiling fan’s connections are intact.
10. Place The Ceiling Fan Light Cover
Once you have confirmed that your light is working perfectly, turn the power back off so you can place the ceiling fan light cover back up. With the same method with which you took the light cover off, you need to put it back on.
If your ceiling fan light uses torsion springs, once you press the cover into the fan base, the springs will click into place, securing the light cover.
If your light cover comes with clips, at least one of them will be spring-loaded, so, you can adjust that one. You just need to pull it back, slide the cover on the stationary clips, and release the pulled back, spring-loaded clip and confirm that the cover is secure.
11. Enjoy Your Set-Up
Flip the circuit breaker back on after confirming that everything has been fitted properly and the ceiling fan light cover is secure. As your fan comes alive, flip your ceiling fan light switch on and enjoy the result of your hard work.
Final Words
Our mantra has always been “Safety first”, and it does not change now that you are working on your ceiling fan light.
Make sure that while trying to fix any electrical gadgets, you follow the manufacturer’s instructions as contained in the manual so that you do not place yourself or anybody else in a hazardous situation.