“All electrical devices and the wiring connection to those devices must be enclosed in an approved junction box.” So states the electrical code. That is why all standard light fixtures, wall switches, and receptacles require a junction box to mount the electrical device and house the wiring.
Does it mean you have to live in darkness because there is no electrical box for you to install a ceiling light? Definitely not.
How do you then go about it? Well, that is exactly what this article is all about: being able to install a ceiling light without a junction box. Before we get into the magic of installing a ceiling light without having a junction box, let us consider the importance of a junction box.
What Is The Fuss About?
A junction box or electrical box is a plastic or metal box with a cover that houses and protects the wiring inside and protects you from the wiring.
The electrical code that junction boxes are important where there are electrical connections is for the safety of all.
Junction boxes come with several functions, which include:
- Housing the wiring connections; protecting them from physical damage.
- Preventing unintended contact with live wires.
- Serving as a means for supporting the electrical device and securing the cables serving the device.
- Protecting against fires by containing the live wires that may come loose from the electrical device.
It is important that whatever device you want to use without a junction box must have a wire connection system that functions just like the junction box as explained above. The system must include a cable clamp.
")
Click here to check this out and buy on Amazon.
Where Is The Magic?
You are probably wondering how you or anyone else can install a ceiling light without having a junction box. Well, there are two options: either use a device that does not require a junction box, or install an old work box which you can use to safely and securely mount your lighting fixture to the ceiling.
The truth is that some electrical devices do not require you to have a junction box. This is because these devices come with their integrated enclosures for making the wire connections.
Some examples of such devices include recessed lights, wall-mounted heaters, bathroom ventilation fans, and garbage disposers. These devices are generally mounted securely on a surface. This way, they serve the same basic function as a junction box.
An old work box, which is also referred to as a remodel junction box can be used for about two connections only because it isn’t as big as a conventional junction box. It anchors to the drywall, and so, it can be easily installed on walls or ceilings.
How To Get It Done?
Installing A Ceiling Light Using An Old Work Box
To get this done, please get the following supplies and tools ready:
- Drywall saw
- Old work or remodel junction box
- Pencil
- Splicing tool
- Utility knife
- Pliers
- Wire nuts
1. Turn Off The Power
You need to ensure your safety at all times.
- First, turn off the electricity at the main circuit to eliminate any risk of getting electrocuted.
2. Cut An Opening For Your Junction Box
- Place carefully the back of the old box at the spot where you want to put the junction box on the ceiling and then adjust it so that it is straight and properly levelled.
- Using a pencil, trace the back of the old box on your drywall.
- With a saw, cut along the traced line and remove the cutout.
3. Feed The Electrical Wires Through The Box
- Punch a hole at the back of the box.
- Then, feed your wires through the hole.
- Fit the box into the hole you created in the ceiling until the front of the box butts against the drywall.
4. Secure The Electrical Wires In Place
- Twist one of the locking screws on the front of the box to rotate the plastic anchor against the back of the drywall.
- Once in place, pull the box slightly as you tighten the screw to maintain the anchor in its position.
- Repeat this procedure with the other screw before you completely tighten the first screw.
- Then, to fully secure the old work box, tighten both screws fully.
5. Split The Wires
- Use a utility knife to cut off approximately 6 inches of sheathing from the light’s electrical wire.
- Then, using a splicing tool, separate each of the wires and take off half an inch of the plastic coating of both the white wires and the black wires.
6. Put The Wires In Place
- Use pliers to twist the white wires from both the box and the lighting fixture together counterclockwise.
- Screw the wires on the wire nut.
- Repeat the same procedure with the black wires.
- Then, twist the ground wires together.
7. Install The Adapter
- Install the adapter or crossbar that comes with the light.
- Position all the wires of the lighting fixture inside the box.
- With the screws that came with the fixture, secure the fixture to the adapter.
8. Test The Light
- Having done everything, turn the power back on to test the light. Your ceiling light should be functioning perfectly now.
Installing A Recessed Ceiling Light
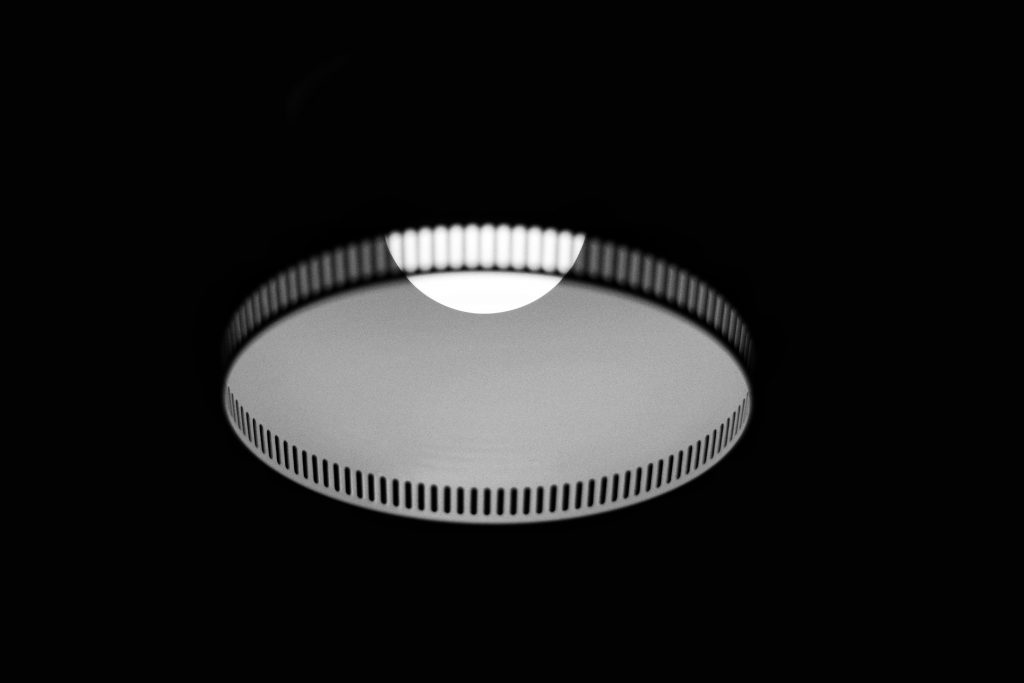
Remember that earlier we said that some devices could be installed without you needing to have an electrical box at a particular spot in your room. The recessed light is one such example. It does not need you to have a traditional junction box because it comes with its complete housing.
You will not find any wire leads extruding from it because the wires are contained inside a wire connection compartment found inside the fixture’s housing. Let us move to your installation.
To get going, you need to get the following supplies and tools ready:
- New recessed light fixture
- Drywall saw
- Pencil
- Paper template
- Splicing tool
- Voltage tester
- Screwdriver
- Pliers
- Wire nuts

Click here to check this out and buy on Amazon.
1. Select Housing
- The housing for recessed light comes in two basic styles: new construction or remodel housing. The difference between the two lies in where they can be fixed. While new construction lights can be fixed from above — especially with access to the attic — lights with remodel housing are installed from below. And this is done by first wiring the light fixture before you then go on to push it in from below.
- Also, some housing come rated as “IC”, while others as “Non-IC”, (IC = “insulation contact”). Housing rated IC have a reduced likelihood of causing problems of airflow as well as heat when you place it against insulation.
2. Select Baffles And Trim
- After the basic housing has been installed, a baffle is used to give it a polished look. A baffle is an inner sheath that is used to cover the bare metal can of the housing. There are two kinds of baffles, namely, the simple baffle and the reflective baffle. The reflective baffle is used effectively on sloped ceilings to throw light towards a specific area.
- On the other hand, trim is used to cover the rim of the housing and the surrounding hole. This is most beneficial when the installation has left uneven or ragged edges on it.
3. Shut Off Power To The Location
- To prevent electrocution, you need to shut off the power to the location where you will be carrying out the installation.
- Also, before you touch any of the electrical wiring, endeavor to use a circuit tester to be sure that the power is out.
4. Remove Old Light Fixture And Junction Box
- To install a recessed light, remove the old light fixture and junction box in the ceiling above it.
- Be careful not to damage any wires, as this will make the new installation more challenging than it already is.
5. Measure Out A Hole In The Ceiling
- With the paper template included with the light fixture and a pencil, trace a circle on the ceiling.
- If you are replacing an old fixture, use the size of the existing hole as a guide for the size to select for your new light. However, the most common sizes in diameter are 4 inches, 5 inches, and 6 inches.
6. Cut Out The Hole
- Having measured out the hole, use a saw to slowly and carefully cut along the traced circle.
- You need to take special care especially with older ceilings as the drywall or plaster there may be susceptible to crumbling under stress.
7. Connect And Secure Wiring
- Open the box that is part of the fixture and clamp the wires extending from the box. This leaves ample room for you to easily move them as necessary.
- Strip the plastic insulation from the wires’ ends and use wire nuts to pair them together based on their color codes, usually black, white, and a bare ground wire.
8. Test The Power
- Before going on to mount the fixture, turn on the power, and with a voltage tester, check and confirm that electricity is getting to the socket of the bulb.
- Once this has been confirmed, turn the power back off until you have completed the entire project.
9. Insert And Secure Housing
- With utmost care, insert the housing in the hole and locate the clips along the edge of the housing.
- With the aid of a screwdriver, try and push each of the clips out until they click to securely clamp the housing to the ceiling.
- Gently tug on the housing. This is to make sure that it is firmly attached to the ceiling once all the clips are deployed.
10. Attach The Baffle And Trim
- The baffle and trim usually attach to the housing with metal springs.
- Pulling out the springs to their farthest reach, attach them to the fixture housing at the corresponding holes.
- Until the trim lies flush just against the ceiling, keep sliding the baffle and trim upward.
11. Select A Bulb
- You are almost at the finish line, so, don’t stop here.
- Select an appropriate bulb for your fixture taking into account the base size and wattage for your fixture.
- Also, consider warmth when selecting the right bulb. Make sure that the bulb is dimmable when using a dimmer switch.
- The popular choices of bulbs are halogen and LED bulbs.
, 24 Count")
Click here to check this out and buy on Amazon.
12. Install The Bulb
- After selecting the appropriate bulb, screw it into place with your fingers.
13. Turn The Power Back On
- Turn on the power to enjoy the brilliance of your new light fixture.
Final Words
When dealing with devices that do not need an electrical box, be sure to always secure cables with a cable clamp. If it is a device that has its clamp, please go through the manufacturer’s instructions on how to use it effectively and follow them.
For some devices without clamps, there is usually made available a wiring connection box with a knockout hole that can be opened up and fitted with an adequate plastic or metal cable clamp.
Do not, for any reason, run wires or the cable through this hole in the connection box without the use of a clamp. We are emphasizing this for your safety. The knockout holes in light fixtures can have ragged or sharp edges that can cut through the cable sheathing if the cable is pulled.
This can also occur if there is a vibration or movement of the device itself. The entire light fixture can become electrified once the bare wiring comes in contact with a metal housing. We don’t want that for you, so, please be safe.