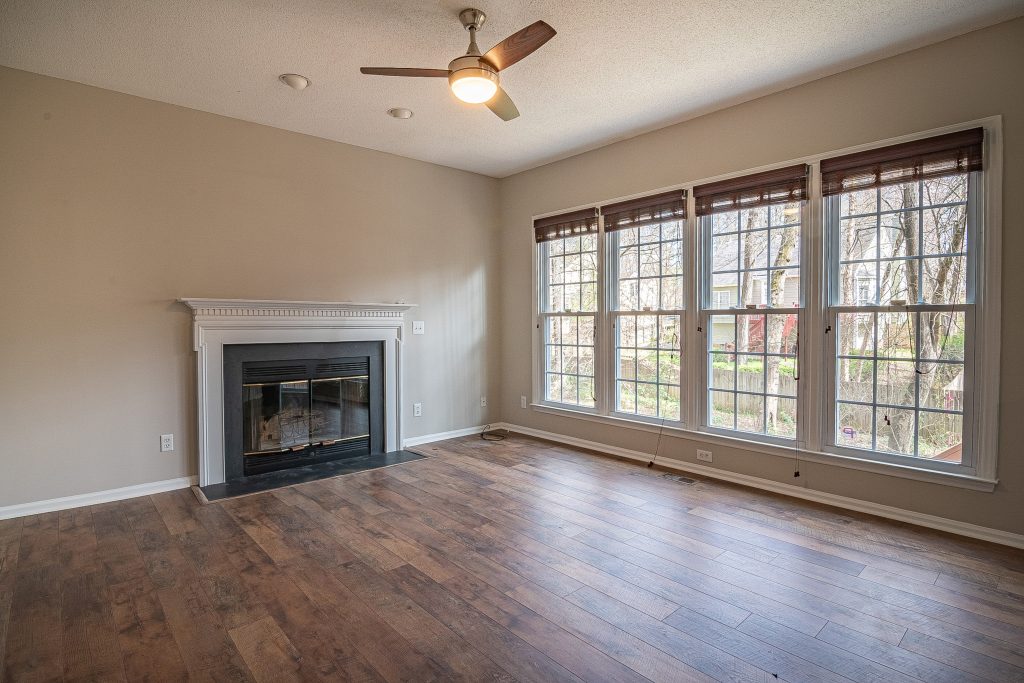
A ceiling fan is popularly the most energy-efficient means of circulating air in a room. What if you can get more out of it? Say lighting in addition to cooling?
Most modern ceiling fans come with one kind of light fixture or the other. As expected, they come with some kind of control. This enables you to enjoy just the cooling during the day, and then, cooling plus lighting at night. There is no need for the light to be on when you do not need it.
It is possible that your ceiling fan did not come with a light kit and now you want a ceiling fan with one. Before you go off getting a new fan for that purpose, you just might be able to install a light kit to an existing ceiling fan. A visit to any home improvement will get you a light kit.
Most fans come with a housing assembly placed at the center of the fan. This is usually revealed after taking off the base plate or whatever décor is found at the bottom of the ceiling fan.
In this article, we will look at what you need to carry out this installation and how to carry it out following safety guidelines.
What Do You Need For The Installation?
Once your ceiling fan has a switch housing, a light kit can be installed. To effectively carry out this project, certain supplies and tools are needed. Find below some of the basic ones:
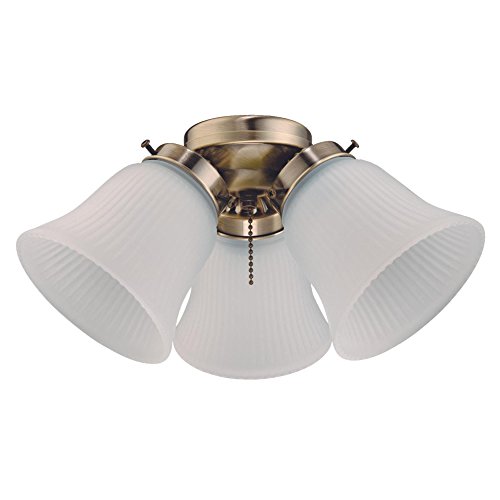
i. A Ceiling Fan Light Kit
This is the most important thing needed in this project since it is what needs to be installed. We will advise that you purchase a ceiling fan light kit that is compatible with the ceiling fan you have.
Most manufacturers have universal light kits that go with any ceiling fan from the same manufacturer.
Before you go off to a home improvement store to purchase the light kit, ensure that you take note of the following details of your ceiling fan: the manufacturer’s name, the fan model or style number, and the measurement of the attachment opening on the fan’s base. These details will help you in purchasing a light kit that is compatible with your ceiling fan.
ii. A Step Ladder
A step ladder is a basic need for this installation. The ladder will enable you to reach the ceiling fan to get the work done.
iii. A Wire Stripper
You will need a wire stripper to get the rubber ends off of the wires to create an electrical connection.
iv. Wire Nuts
Wire nuts will come in handy when connecting the pairs of wires. The nuts will ensure that the wires are held securely with no chance of slipping it when some amount of pressure is applied.
v. Screwdrivers
Depending on the type of screws you encounter, you may need more than one screwdriver. Just get a flat screwdriver and a Philip head screwdriver because you will meet a good number of screws here.
How Do You Get The Installation Done?
Having gotten all the required tools and the ceiling fan light kit, we can proceed with the steps to take to get the light kit installed.
Starting with the safety precautions, follow each step carefully to avoid having to go start your installation all over again due to one mistake or the other. Let us get started.
- Energy-efficient light kit adds a traditional accent to any Ceiling Fan
- Three energy-saving LED Omni a15 bulbs are equivalent to three 40-watt incandescent bulbs, but use only 5-watts each
- Classic Antique brass finish with frosted ribbed glass shades
- Fits most light-kit-adaptable 42-inch to 52-inch indoor Ceiling fans with a center hole in the housing cap
- Includes three non-dimmable LED light bulbs, installation instructions and mounting hardware
Prices pulled from the Amazon Product Advertising API on:
Product prices and availability are accurate as of the date/time indicated and are subject to change. Any price and availability information displayed on [relevant Amazon Site(s), as applicable] at the time of purchase will apply to the purchase of this product.
1. Turn Off The Circuit Breaker
Make sure you do not get zapped while trying to carry out this installation. The first thing to do to ensure your safety is to turn off the power by simply flipping the switch at the circuit breaker.
It is not enough to simply turn off the power at the wall switch as current may still be flowing to the ceiling fan by a fault at some point in the connection.
It is safer to turn off the circuit breaker. It will just be for a little while that you are carrying out the installation. It is better to endure a little discomfort and be safe than to enjoy comfort at the risk of getting electrocuted. As the saying goes, “better safe than sorry.”
2. Uninstall The Ceiling Fan
This is an optional step. Optional in the sense that you can choose to carry out the installation of the light kit on a table or floor or you can spend your whole time on the step ladder installing the ceiling fan light kit.
While working on the ceiling fan from a lower level is more comfortable, it will take you some more time as you will need to get it back up.
On the other hand, working on the fan from the step ladder will save you the time needed to get the fan down and back up, but will require you to be super coordinated.
If you choose to uninstall the fan, you will need to use a screwdriver to get the fan off its support. Then unscrew the wire nuts to get the wiring off.
Be sure to take note of the wire connections, so that you can replicate them when it is time to reconnect the fan assembly to the fan canopy. One way to take note of the arrangement is to use your photo to snap a picture of it that you can refer to later.

3. Remove The Base Plate
Using an appropriate screwdriver, unscrew the ceiling fan’s base plate and remove the plate to expose the wiring. You most certainly will have no use for the cap that covered the hole in the center, but you will have use of the screws, so, they need to be set aside carefully.
4. Attach Wires In Fan To Wires In Light Fixture
Take note of the wires inside the fan’s switch housing and the ones from the light fixture. This is because it is important to connect the right wires from the two parts together.
Most times, the connection of the wires will be based on a color match. This means that if the wires in the ceiling fan match with the ones in the fixture, you will need to connect each colored wire pair.
For example, a white wire from the fan’s housing assembly will be connected to the white wire found in the light fixture. The same thing applies to the black pair.
Getting wires that match in color is another benefit of purchasing a ceiling fan light kit from the same manufacturer as the ceiling fan.
First, feed the wires from the fixture through the hole at the center of the base plate. With the wires fed through the hole, connect them with the ones from the fan by first stripping the rubber ends with a wire stripper and then twisting them together. After doing that, secure the wires by screwing each pair into place using a wire nut.
5. Secure The Base Plate In Place
With the wire attachment neatly done, the light fixture should be secured into place on the ceiling fan with screws. Reattach the base plate to the body of the fan using the screws once removed to hold it securely.
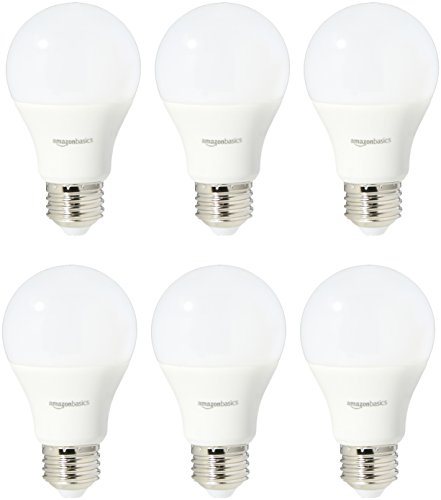
6. Attach The Light Bulbs & Other Accessories
Proceed to screw in the light bulbs into the light bulb sockets. Following the manufacturer’s instructions, attach other accessories provided. The glass shade can be attached securely to the fan with the use of thumbscrews. If necessary, attach the pull chain to the fan.
7. Reinstall The Ceiling Fan
If you had brought the fan down to install the light kit, now is the time to return it to the ceiling. Refer back to the photo of the wire connections that you snapped with your phone.
Secure the fan in such a way that you can easily reconnect the wires. Attach the wires coming from the ceiling bracket to the ones coming from the fan’s motor.
Make sure that they are held securely using wire nuts. This will prevent the wires from slipping out after you must have tucked them into the ceiling. Besides, when the fan is in motion, the movement will not get the wires undone.
Push the fan canopy against the ceiling bracket to secure it into place. Depending on the design and construction of the fan, the base will likely pop into place with just a push against the ceiling bracket.
If this is not the case, it will become necessary to use some screws to hold it into place. Albeit, they must fit very close to the ceiling.
8. Turn On The Circuit Breaker
After confirming that every part has been held securely, it is time to test the installation. Flip the switch at the circuit breaker and turn on the fan switch to confirm that the fan works perfectly.
Pull the chain or turn on the fan switch to confirm that the fan light kit was correctly installed and all the lights are operating properly. Now, you can enjoy the cool breeze in an adequately lit room.

Final Words
You will agree that getting illumination in a room with a ceiling fan is as easy as following a few guidelines. This is whether or not the ceiling fan came with a light fixture.
Apart from being able to get your house lit up, you need to be able to ensure your safety, especially as it regards electricity.
If for some reason, you doubt your capability to carry out this installation, or you have tried it following the laid-out steps in this article, and you are unable to get things to work fine, please get assistance. Hiring a professional electrician to help you will not be a bad idea. What is first important to us is your safety.
Another way you can ensure your safety is by getting a ground fault circuit interrupter (GFCI) installed in your home. Let us get right to what it is all about.
A ground fault circuit interrupter, which is also referred to as a residual current device (RCD), is simply a kind of circuit breaker which tracks the flow of current in a circuit, and once it detects any imbalance between outgoing current and incoming current, it shuts off power.
Here is how it can play out in a typical scenario. If, for some reason, while doing a few chores at home, you get an electrical shock, the current will flow from the circuit through your body to the ground.
As this happens, the ground fault circuit interrupter will sense that particular loss of current and at once deactivate the circuit, thereby, shutting off the power completely. This way, it prevents you from getting electrocuted or obtaining serious injuries. It can also avert an electrical fire outbreak.
Properly following the guidelines in this article will get you to correctly install a light kit to an existing ceiling fan.