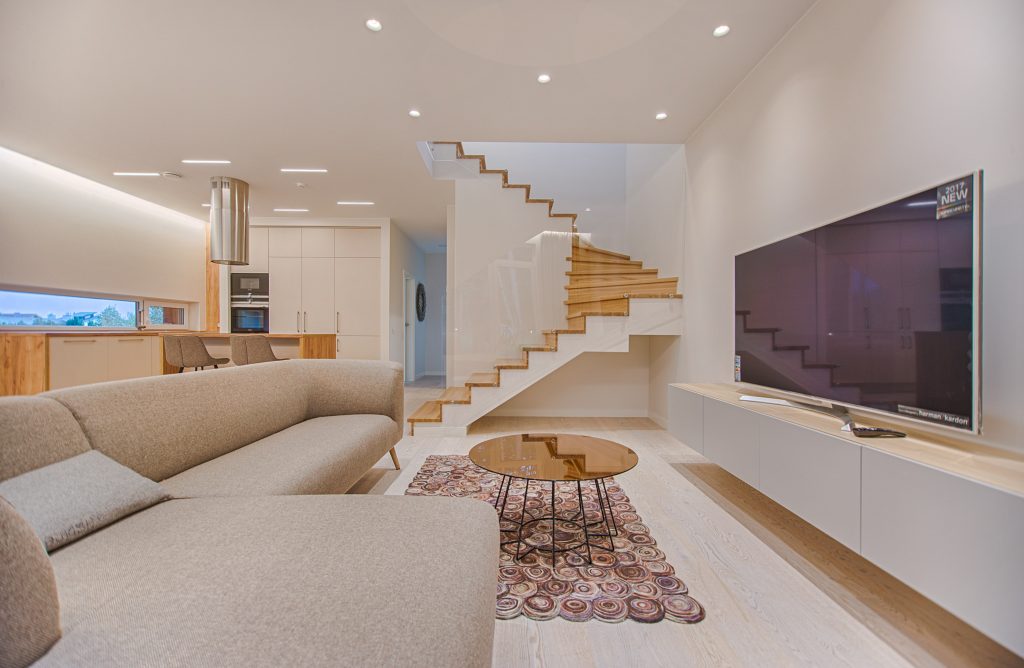
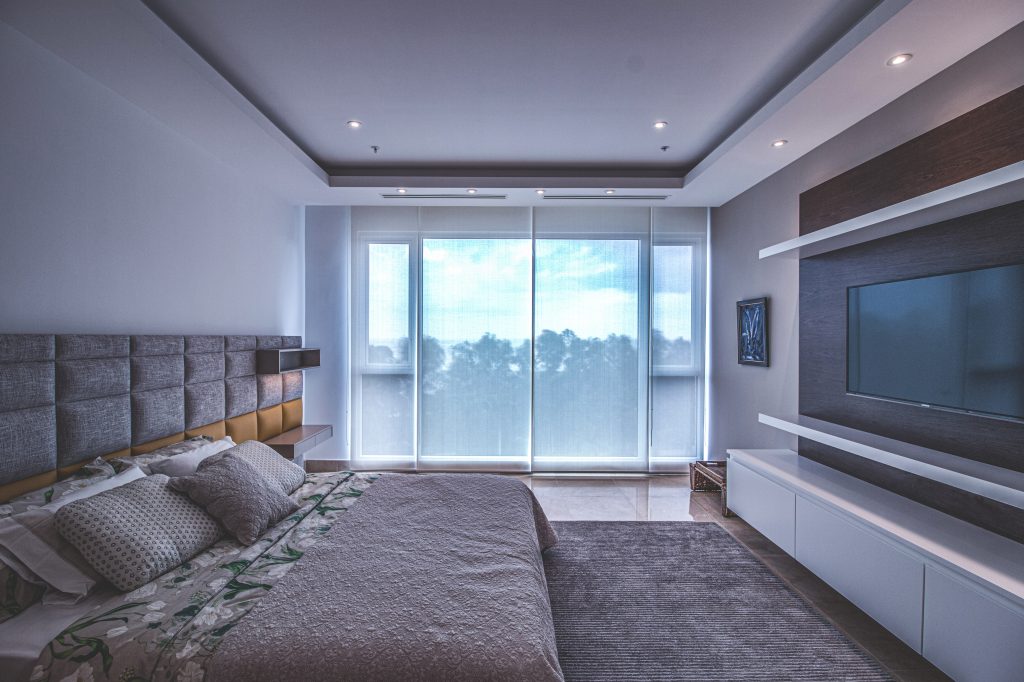
A recessed ceiling light fixture can actually give your home that new look you’ve been aiming for. And guess what, it might end up being an even more economical choice than many other ceiling lights.
Recessed lights actually have many great benefits. They do well for home improvement. They never actually go out of style. They have a way of making your room look and feel bigger. They are great for low ceilings.
Also, recessed lights are one of the only lighting fixtures which can be used in a shower stall or any other really water-intensive environment.
So, if you have chosen recessed lights, chances are that you have made the best decision. Let us now show you how you can install them in your home.

Can I Install Recessed Lights Without Any Help From An Electrician?
Admittedly, installing recessed lighting can be a bit more complicated than installing many other lighting fixtures.
But in spite of that, we are pretty positive that recessed lights are something you can install by yourself, especially now that you have our help.
Anyway, if you feel the whole thing is a bit too complicated for you, then go ahead and seek the services of an electrician. But if you are willing and ready for the challenge, come along with us.
Can You Install Recessed Lighting To Existing Ceiling?
Of course, you can, and you will be seeing that in this article today.
Anyway, before we even get there, we believe you will find the video below really helpful if you have an existing ceiling and would like to know how to install recessed lighting there. Check it out!
Stuff You Might Need
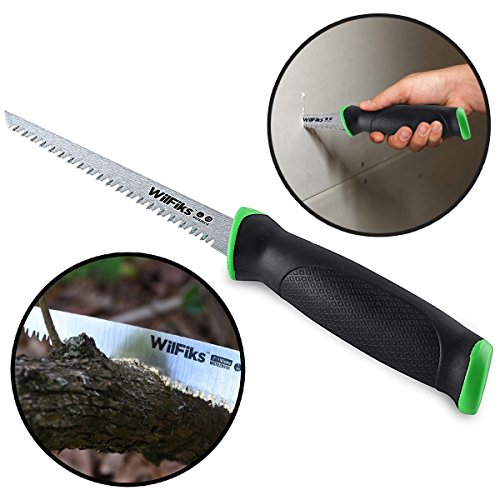
Drywall saw: you will be needing a drywall saw or a drill bit to make a hole for the housing in your ceiling.
Click here to check this out and buy on Amazon.
Wire strippers: you will need this to remove the insulation from the wires before you connect the wires.
Wire nuts: this will be necessary for joining the fixture wires together with the wires from the ceiling and make sure that they stay.
Voltage tester: to test the wires to see if they are dead before you begin work on them.
Stepladder: for elevation. Make sure it stands firm against the floor so you don’t end up crashing to the ground when you’re standing on it.
How Do I Install A Recessed Ceiling Light?
1. Select The Right Light Housing & Baffle
You will have to select and purchase a housing which best suits your home. So, you will have to ask, is it a new construction with access to the ceiling from above? Or is this housing supposed to replace an old light fixture?
The answers to those questions will help you determine which housing you will go for, because in each of those cases, you will require a different type of housing.
For example, the housing you will install in a new construction will be expected to be bulkier than a remodel one; the better option to use if this lighting fixture will be replacing an old one.
Furthermore, select the trim and the baffle which you will install over the housing after it has been put in place.
Also, read the manual for instructions on installation as well as voltage requirements. You could really use some help from a pro, especially regarding voltage requirements, so feel free to reach out to an electrician.
2. Turn Power Off
Go to the fuse box and locate the circuit breaker for the room in which you are about to install your lights. The breakers are usually labeled. Turn it off.
We advise that you leave a note so that anyone who comes by there understands that it was turned off for a reason.
If your fuse box is not labeled and you are having a tough time figuring out which breaker is for that room, then you could just go to the power source and cut out power to the entire house until you are done with your installation.
Note that turning off the wall switch will not be enough when you have to deal with wires. It is very important that you locate the power source of the apartment.
3. Remove Existing Fixture If Any
Remove the old ceiling light fixture hanging from the ceiling, if any, and also take out the junction box. The junction box is usually attached to ceiling joists, so, you may need to use a drywall saw to be able to detach it from that joist.
Be careful while doing this, though, so you don’t end up destroying any wire in the ceiling. You could use a stud finder to check and be sure there are no obstructions up there before you saw.
4. Accurately Measure And Cut Out A Hole In The Ceiling
Now, you need to understand that getting an accurate measurement of the hole in which the housing will be inserted is very important. It could make or break the entire installation.
If the ceiling hole is a little too small, the housing will not go in. If it is a little too wide, then the housing won’t stay put. In essence, the hole has to be just accurate.
Well, manufacturers usually add a paper template to the lighting package. Use this to get an accurate measurement. You are to place this on the ceiling and trace out a circle.
Following that circle you have just traced out, use your drill bit or drywall hole saw to cut holes in the ceiling. This hole is where you will be inserting your new can light.
5. Connect Fixture Wires & Ceiling Wires
First, test the wires in the ceiling to ensure that they are dead before you go ahead to even touch them.
Now, recessed light usually come with junction boxes. Use your wire strippers to strip the insulation from the wires and then connect each wire from the box to the corresponding one dropping from the ceiling. Use wire nuts to hold them together.
Make sure to connect each wire accordingly. That is, black wire on black, white on white, and ground wire to ground wire. (Ground wires are usually a green color or a bare copper.)
6. Test Power
At this point, just before you finally mount your new recessed light fixture, use your voltage tester to test the wires for power.
But hey, remember you turned off the circuit breaker, so, go back and turn it on (or ask someone to do that for you), then test the wires to be sure that electricity is getting to the socket.
If your voltage tester lights up, then you are good to go. Once that has been done, go back and turn the lights off until you are done installing the recessed light.
7. Insert The Recessed Light Housing
The next step now will be to insert the recessed lighting housing into the hole you made in the ceiling. There are usually clips around the edges of the lighting housing. Use a screwdriver to push them outward until you feel a click.
Once you have done this to all the clips, give the housing a little tug to be sure it is firm and secure up there.
Up next, attach the baffle and then the trim, usually with the help of metal springs. Follow the instructions of the manufacturer to get this properly in place.
8. Attach A Light Bulb
Get a bulb which has the right wattage for the new fixture and attach to the socket. You might want to consider getting LED light bulbs to use in a fixture of this kind.
Once this is in place, you are set!

9. Turn Power Back On
Go to your fuse box and turn the breaker back on and retrieve your note. Now, turn the light switch on and your new recessed lighting should be glowing. Congratulations! You did it!
So, you can see now that installing recessed lighting is actually not as difficult as you may have initially thought.
Anyway, if you also want to know how you can install regular ceiling lights, check out this article. It provides you with 8 simple steps to follow to install a lighting fixture without the help of a pro.
Back to recessed lighting, if you have decided to get one, check out this pretty affordable one here.

