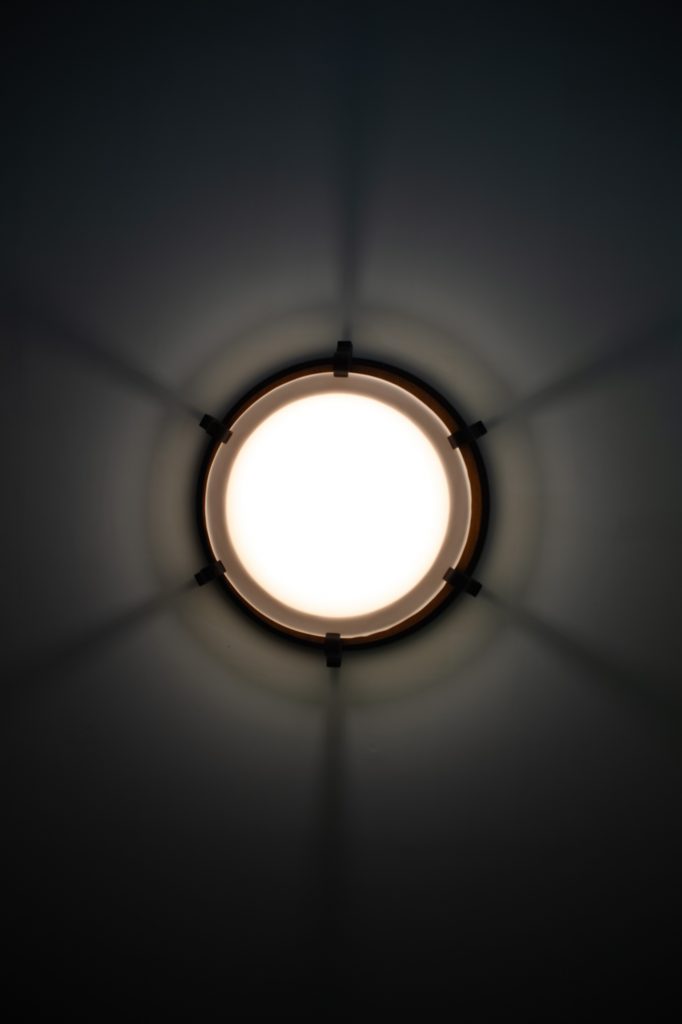
A flush mount ceiling light is a type of light fixture which, when mounted, leaves little to no space between the ceiling and the fixture itself.
For this reason, it might be a bit more of a challenge to remove this type of ceiling fixture compared to other regular ones.
Anyway, that is what we are here for today; to show you how to successfully remove a fixture which stays so close to the ceiling. Come along!
Can I Remove A Flush Mount Ceiling Light Fixture Without An Electrician?
Of course, you can! If you want to save some money and you can follow the simple steps we will be giving you in this article, you sure will be able to get that old fixture out of the way without much hassle.
However, if you feel like you might fumble it and you are really nervous about wires and all that type of stuff, then perhaps calling an electrician may be the best call for you.
Stuff You Might Need
A step ladder: you will need a stable and firm step ladder to elevate you to the ceiling where the light is. If you do not have this, a firm step stool will also suffice.
Screwdriver: there are probably screws holding your light fixture in place, so, you will need a screwdriver to undo the screws.
Voltage tester: to test the wires before you begin to disconnect them. Please, do test your voltage tester to be sure it is working before using it to test the wires.

Click here to check this out and buy on Amazon.
How Can I Uninstall A Flush-Mount Ceiling Light Fixture?
1. Turn Off Power
First, you will have to locate the fuse box in your home and turn off the switch for the room you are about to work on.
Leave a note on that switch indicating that it was turned off because it is currently being worked on. This is so that someone does not go and turn it back on while you are touching the wires.
Normally, every circuit in the box will be labeled according to the rooms they power. If yours is not, then it may be better for you to just turn off power for the entire home until you are done.
2. Remove The Dome
Ceiling light fixtures such as this are usually protected by glass domes or some sort of covering. You will have to take that down first by twisting leftward (or counterclockwise).
Some coverings are secured by screws or nuts, so, loosen them carefully with one hand placed on the dome so that it doesn’t just fall off. If it does not just come off, twist leftward and it should.
For some, you will see a knob right at the center of the cover. Gently twist it leftward, and that should be enough to get it out of the way.
When all the screws have been undone, take the glass dome out and set it aside.
3. Take The Bulb Out
At this point, you will now be exposed to the light bulb. Take it off by wrapping your fingers around it and twisting leftward. In no time, it should be off.
Anyway, if you notice that the bulb is stuck in its socket and you cannot uninstall it just by twisting it, refer to this article. It shows you how you can easily remove a stuck light bulb without much stress.
If the bulbs are still functioning, set them aside. You could use them in the next light fitting you install instead of spending money on new ones.
4. Detach Fixture Base
Now, detach the fixture base from the mounting bracket by unscrewing each screw that holds up the fixture. When you are done doing that, you will then be exposed to the wiring.
5. Disconnect The Wires
Now, the next step will be to disconnect the wires of the ceiling fixture from the ceiling wires one after the other.
This is the point where you test each of the wires so that you are sure none is live. Always test wires before you make contact with them.
If the voltage tester indicates that the wires are live, do not go any further. Go back to your fuse box and check the circuit breaker again.
So, if the wires are dead, remove the wire nuts and carefully disconnect the wires. Then you are free to put the fixture down.
6. Remove Mounting Bracket
To get the fixture plate out of the way, you will have to unscrew and remove the mounting bracket. Do this with your screwdriver with your free hand supporting the fixture plate.
Once this is done, you have successfully uninstalled your ceiling fixture.
If you plan to install a new ceiling light fixture right away, you may check out this article here. It provides you with easy steps to follow to do that by all yourself.
If you don’t, then it is advised that you leave the light turned off.
PS: in case you haven’t thought about it, replacing your old light fixture with a new ceiling fan is also a thing people do, and you might like the idea to give your home a new look.
So, perhaps you could consider getting a bedside lamp, for example, and installing a ceiling fan where your light fixture was previously mounted.
Or you could go ahead to install a ceiling fan with a light fixture, that way, you get 2 for 1. Well, if this is something you would like to try, click here to check out this article. You are sure to find it very helpful.