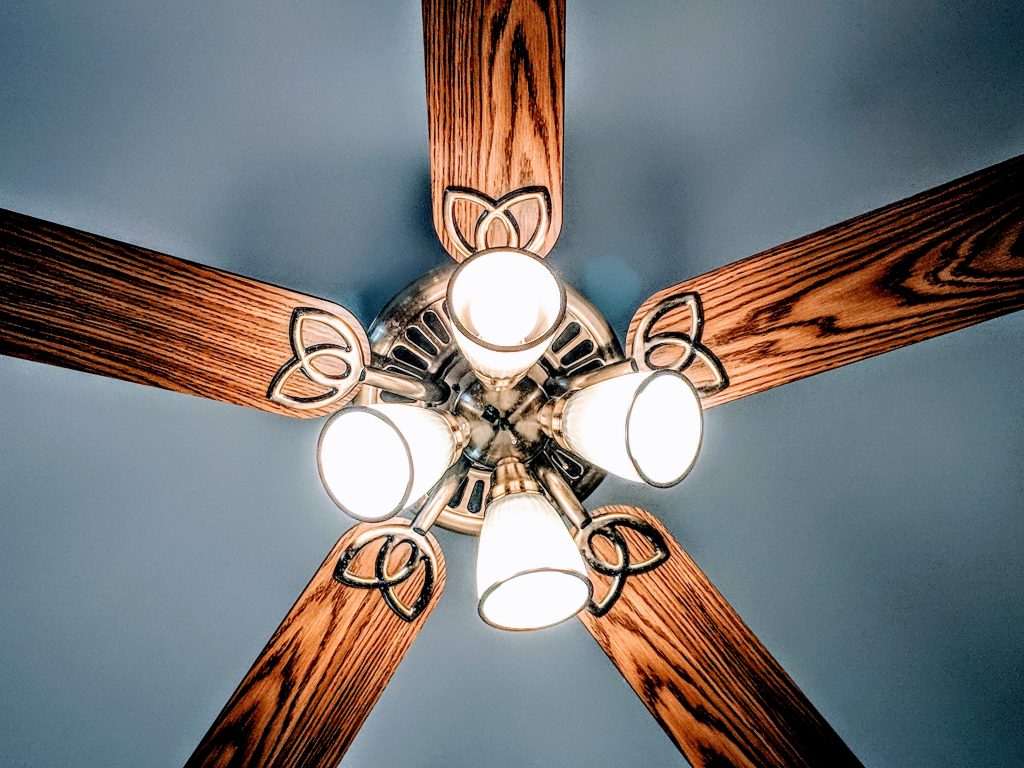
There are a lot of different ways to wire a ceiling fan with light, and it can be a pretty tough job. Well, that’s if you don’t know what you are doing.
In this article, we make sure that it isn’t that tough for you. We will be doing a detailed breakdown on how you can wire a ceiling fan with light.
So, you just got a ceiling fan that comes with a fan light and you aren’t sure how the wiring works. Here’s the thing, the wiring will work however you want it to.
Do you want to be able to control both the ceiling fan and the fan light from one switch? Or do you want to control them from different switches?
Do you want to control the ceiling fan from a pull chain and fan light from a wall switch? Or you don’t even want a switch at all.
Whichever one you think will be the best for your kind of apartment and preference, we’ll be explaining how each works.

Safety First!
There are a few safety steps that must be taken before you start working. The slightest mistake when working with electricity could result in some serious consequences.
1. Turn Off The Power
This might sound like an obvious thing, however, it is important that we point it out as it can also be easily forgotten.
Ensure that every form of electrical power is cut from the your apartment! Go to your circuit breaker and turn off the switch for the ceiling fan in that room.
2. Secure The Panel Box/Main Power Source
After turning off the power, it is also important that you indicate that work is being done and that no one should touch.
If this isn’t done, someone unaware of the work being done might go and turn the power back on. This could result in an accident. So, keep a visible warning on the panel box to avoid this.
3. Check The Lines For Presence of Electricity
Even after turning of the power, there is still some possibility that the hot wire (or any other wire) might still carry some current. So, don’t jump in and start working yet.
For this step, you can make use of a voltage tester, or voltmeter, or a non-contact voltage sensor.
4. Consult A Professional
Some localities and states have codes that control interior electrical works. So, do well to consult a professional to confirm that there are none. Where there are, ensure that you are not violating any.
5. Read The Ceiling Fan Instruction Manual Carefully
This is the part that we always want to skip. Sometimes, brands might have different modes of operation for their ceiling fans.
This is why it is important that you go through the instruction manual of the ceiling fan you have purchased. This way you can understand how some varying features work for the specific brand you have.
Tools You’ll Be Needing
1. A Step Ladder
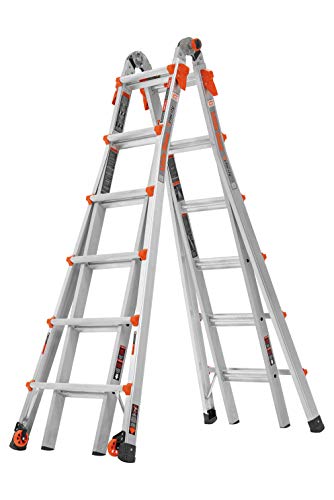
Of course, you will need to get up to the ceiling to be able to work on the wires. A step ladder is what will elevate you to that point.
If you don’t have one, a step stool could also be used. Or any other furniture really, depending on how high your ceiling is.
Anyway, whatever you end up using to elevate you to the ceiling, ensure it is stable and is firm against the ground so you don’t come crashing down at any point.
Well, you want to get a step ladder? Here’s a good one to consider.
Click here to check this out and buy on Amazon.
2. A Screwdriver
You will be dealing with screws here, so, of course, you will need a screwdriver.
You know, you really cannot disassemble all those large and small parts of the ceiling fan kit without a screwdriver.
People tend to try to substitute a screwdriver with a knife or pair of scissors. This is very unsafe.
3. Voltage Sensor
There are various devices that can perform this function. This is just to make sure that there are no charges still flowing through the wire before you start working.
You can make use of an voltage tester or a voltmeter. However, as a recommendation, it would be safer to use a non-contact voltage sensor, why?
Well, it is best that you avoid having contact with the wires until you are sure there is no current in it.
To use tester or voltmeter, there needs to be contact between the tools and the wire. This is not very safe as your hand could accidentally touch the wires. Again, why we advise that you use a non-contact voltage sensor if you can get one.
Wire Color Code
Before we get into the slightly complex part of this process, we need to address how wires are colored. If you don’t take note of this, you could get confused when the process starts. This could lead to some form of accidents and wiring issues – which we certainly do not want.
General household wiring normally consists of a black wire, a white wire, and a copper wire.
The black wire is the hot wire that connects to the wall switch. The white wire is the neutral wire that completes the circuit. The copper wire serves as the ground wire that keeps your ceiling fan from having power surges.
If a red wire is present, that should lead to your wall switch. Some households have a blue wire. This is in cases where there are two switches on the wall.
Ceiling fans also have a wire coloring system and they might not match the regular household color system. Depending on the brand, the color system of ceiling fans usually varies.
However, the most commonly used is the blue, white, green, red, and the black wire.
The black wire for the ceiling fan, the blue wire for the light, the white wire is neutral, while the green is the ground wire. For the red wire, it might not always be available, however, it is used as a conductor for the light kit.
This is why you need to go through the instruction manual of the ceiling fan. This way you can tell what wire does what as you complete the installation.
Now that we are done with all the preparatory activities, let’s now get down to the real stuff.
Controlling The Fan From The Pull Chain And Light From Switch
Let us start with the method that is most generally used. It requires you to make use of just one switch — for the light.
For the light to be operated by its own switch, this system requires a fourth wire. This wire (usually a red wire) carries power from the wall switch to the light kit.
Now, all you have to do is connect the corresponding wires on the fan to your household circuit.
Connect the green wire on your fan kit to the copper wire in your household circuit (ground wire). Next, connect the white wire to the corresponding white wire and cover with a wire nut or electrical tape.
Click here to check this out and buy on Amazon.
In this case, it is important that you cover the white wires as they are no longer neutral. This will help you — or any other person who needs to work on the system in the future — know that it is a hot wire.
The next step is to connect the red wire in the ceiling to the black wire in the fan light kit.
That’s all! Arrange the wires back in their box and test to see if your fan is working; it should.
Controlling The Fan And Light From A Single Switch
For this connection system, you also need just one switch. It eliminates the need for the pull chain of the fan.
The first step, as usual, is to connect the two ground wires from the household circuit and fan kit. That is, the green wire in the fan kit, and the copper wire in the circuit box. Next, connect the black wire to its corresponding black wire, then the white wire to, of course, its corresponding white.
Finally, connect the lighting wire (usually blue) to the black wire in the fan kit, and the black wire in the ceiling.
You can now put the wires back in their place and test out the fan and light from your wall switch.
Controlling The Cieling Fan And Light From Separate Switches
We understand that there is a chance you don’t want to have to have both your light and ceiling on/or off at the same time.
So, you want to be able to control your fan and fan light separately from the different switches. Well, lets see how that wiring works.
First, the power supply line must be supplying power to the two switches. One for the fan, and the other for the fan light. Also, for this method to be successful, you need to have three wires going from your wall circuit to the light.
Now, connect the black fan wire to the black ceiling wire. Next, connect the blue wire to the red wire, then connect the white wires. Finally, connect the green and copper ground wires from the fan kit and the ceiling.
This is just the first part of the connections needed. You now need to move to the switch box to complete the work.
At the switch box, cut the hot wire into a “Y” shape and connect it to the terminal on both switches. Next, connect the black wire to the screw in one switch, and the red wire to the screw in the other. Connect the white wires together, then, the green and copper ground wires.
Put the wires back in the respective places and turn on the power to test.

Controlling Without Switches
Now, in case you need a fan and light in a room where there are no switches, there are two options that could work.
The first is an older solution to the problem which is by connecting the ceiling fan and light to a nearby power source. The second is a more modern solution that involves the use of remote controls.
Connecting To A Power Source
For this method, you will have to settle for a pull chain to turn your fan and light on/off.
To create this connection, connect the neutral wires (white) from the fan and ceiling. Connect the ground wire to its corresponding ground wire (green and copper). Connect the black wires. Then finally, for your light kit, connect the blue wire to the corresponding blue wire or to the black wires.
The best thing about this wiring system is that, you don’t have to have the light kit at the point of installation. You can always get the light kit and add to the system and still not tamper with the initial fan wiring.
Connecting With A Remote Control
Like we mentioned earlier, this option is very modern. So, if you want to use it, then, you will have to purchase a new generation ceiling fan.
The remote control reciever is usually placed inside the fan, while the remote can be operated from any part of the room. It is traditionally hung on the wall of the room.
To connect to a remote control, all you have to do is connect the wires on the receiver to the fan. However, remember that it isn’t certain that the remote control will also work on the fan light.
Conclusion
To get any of these methods done, all you have to do is follow the steps provided here. It is also important that you don’t forget to take note of the safety precautions. Do not turn power back on until you are done with everything.
As we mentioned earlier, some features may vary across the different ceiling fan brands. So, if your ceiling fan has a different color system than the one we used, just check the manual, it’s all in there.
If the package doesn’t have an instruction manual, then just check for the fan for any indication.
If you haven’t yet gotten a fan you would like to install, then check this one out.
PS: if you want tips on installing a ceiling fan, this article here could help. It specifically shows you how you can take out an old ceiling light fixture and install a new ceiling fan in its stead.


